

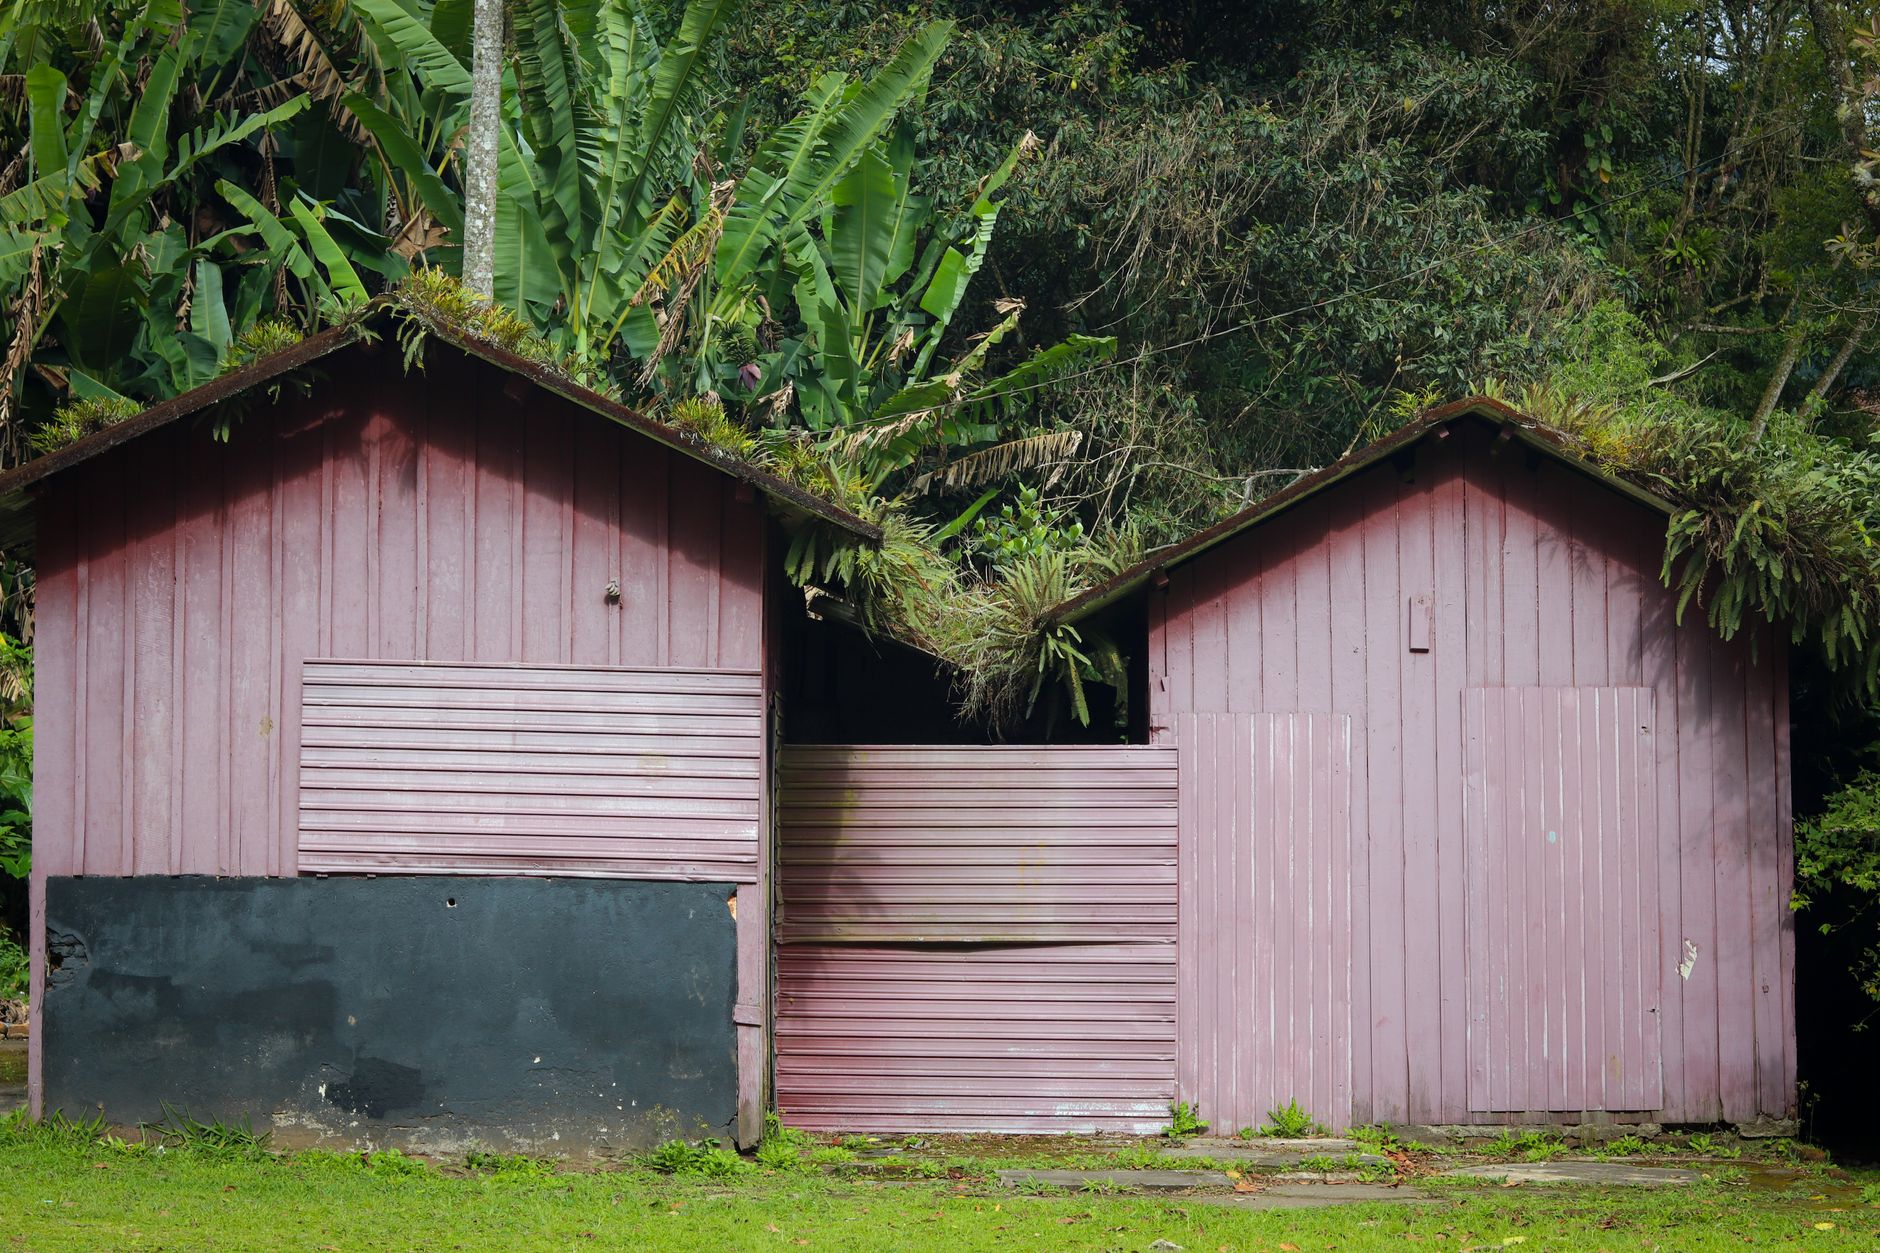
An old shed can provide useful storage for many years, but eventually it may become damaged, unstable, outdated, or simply unnecessary. When a shed is no longer serving a practical purpose, keeping it can take up valuable outdoor space that could be used for gardening, recreation, landscaping, parking, or other improvements. Removing an unwanted structure requires more than simply tearing it apart. A successful project involves careful preparation, an understanding of the shed's construction, appropriate safety measures, responsible handling of materials, and proper preparation of the area afterward. With a well-organized approach, homeowners can turn an unused structure into an opportunity to improve the appearance and functionality of their outdoor space.
Why Removing an Old Shed Can Be Beneficial
Over time, outdoor structures are exposed to rain, wind, sunlight, moisture, temperature changes, and general wear. Wooden walls can begin to rot, roofs may develop leaks, floors can become weak, and metal components may corrode. Even when a shed remains standing, it may no longer be safe or practical to use. Damaged structures can also make a property appear neglected, particularly when paint is peeling, panels are missing, or vegetation has started growing around the building. Taking action before deterioration becomes more severe can make the project easier and reduce the possibility of additional property damage.An unused shed can also prevent homeowners from making better use of their available outdoor area. Once the structure is gone, the cleared space can be transformed into a garden, patio, seating area, lawn, children's play space, workshop, or storage solution that better suits current requirements. Removing an outdated building may also make maintenance easier because there will be fewer areas where leaves, standing water, pests, and unwanted debris can collect. For these reasons, shed removal can be an effective way to reclaim space while improving the overall appearance and usability of a property.
Inspect the Shed Before Starting
Before dismantling anything, inspect the entire structure carefully. Examine the roof, walls, floor, doors, windows, framing, fasteners, and foundation to understand its current condition. Look for signs of rot, rust, cracking, movement, water damage, insect activity, or structural weakness. An inspection is particularly important when the shed has been neglected for several years because some components may look sound from the outside while being severely weakened underneath. Understanding these conditions will help determine whether the structure can be dismantled gradually or whether professional assistance is more appropriate.It is also important to identify anything connected to the shed before work begins. Some outdoor structures may have electricity, lighting, water connections, drainage systems, or other services. These connections should not be disturbed casually, especially if their condition is unknown. Checking the surroundings is equally important. Nearby fences, trees, walls, vehicles, garden features, and other structures should be considered when planning the dismantling process. A detailed inspection gives you a clearer idea of the tools, equipment, labor, and disposal arrangements that may be required.
Clear and Organize the Interior
The shed should be emptied completely before dismantling begins. Remove gardening tools, boxes, furniture, equipment, chemicals, containers, and any other stored items. Sorting these belongings into categories such as keep, donate, recycle, and discard can make the project more productive. It is often surprising how much unnecessary material accumulates inside an old storage building, so allowing enough time for this stage is essential. Avoid placing heavy items against walls or on damaged flooring while you work because weak sections may not support additional weight safely.Once the interior has been cleared, inspect the floor again for damage or unstable areas. Remove loose shelves, hooks, cabinets, and other fixtures that could interfere with dismantling. Keep useful hardware in labeled containers if you plan to reuse it. Tools should also be arranged in an accessible location outside the structure so you do not need to repeatedly enter and exit the shed while carrying equipment. Good organization at this stage can significantly reduce delays and help create a safer working environment throughout the project.
Prepare the Work Area
Preparing the area around the shed is just as important as preparing the building itself. Remove outdoor furniture, decorations, gardening equipment, toys, pots, and other objects from the immediate work zone. Establish a clear route for carrying dismantled materials away from the structure. If large panels or sections of timber need to be moved, make sure the route does not contain unnecessary obstacles. Keeping people and pets away from the work area is also important, particularly when sharp tools, heavy materials, or unstable sections of the building are involved.Protective equipment should be selected according to the condition and construction of the shed. Strong gloves can protect hands from splinters and sharp edges, while suitable footwear can reduce the risk of injury from dropped materials or exposed fasteners. Eye protection can be useful when cutting, prying, drilling, or removing components that may produce dust or debris. If power tools are required, make sure they are suitable for the task and operated correctly. Preparation may take some time, but it can make the dismantling process substantially safer and more efficient.
Understand the Dismantling Sequence
The order in which a shed is dismantled can have a major effect on safety. Rather than immediately attacking the walls or supports, begin by identifying which parts can be removed without compromising the stability of the remaining structure. Doors, windows, shelves, interior fixtures, and other loose components are often suitable starting points. Roofing materials can then be addressed carefully, followed by wall panels and framing members as appropriate. The precise sequence will depend on the shed's design, condition, and materials.Controlled dismantling is generally preferable to uncontrolled demolition because it allows individual components to be handled safely and sorted as they are removed. It can also reduce damage to reusable materials and limit the amount of debris scattered around the property. Heavy sections should never be allowed to fall unpredictably. If a structure appears unstable or begins moving unexpectedly, work should stop until the situation can be reassessed. A cautious approach is especially important with severely deteriorated sheds where apparently minor components may be carrying more structural weight than expected.
Removing Roofing Materials Carefully
The roof is often one of the most difficult parts of a shed because roofing materials can be heavy, brittle, sharp, or awkward to handle. Depending on the design, a shed may have shingles, felt, metal sheets, plastic panels, or another roofing system. Before removing roofing materials, consider how they are attached and whether they can be safely handled from the ground or require additional equipment. Do not assume that a roof is strong enough to support a person's weight, particularly when water damage or rot is present.Roofing waste should also be separated appropriately because not all materials can be treated as ordinary household rubbish. Damaged sheets, old felt, and other roofing products may require particular disposal arrangements. Removing roofing materials in manageable sections can make transportation and cleanup easier. It is also important to keep the area below clear while overhead work is taking place. Careful handling can reduce the risk of broken materials, falling debris, and unnecessary damage to surrounding surfaces.
Dismantling Walls and Framing
After the roof has been dealt with, the walls and framing can generally be approached in stages. Fasteners should be removed carefully using appropriate tools, and panels should be supported when they are loosened. Wooden boards may be separated individually, while metal or plastic panels may need to be handled differently. If sections are heavily damaged, extra caution is required because they may break unexpectedly during removal. The goal should be to maintain control over each component instead of applying excessive force.Timber should be examined as it is removed. Sound pieces may be reusable, while rotten, mold-damaged, or heavily treated materials may need specialized disposal. Metal brackets, hinges, screws, and other hardware can be separated for recycling or future use when appropriate. Keeping materials sorted from the beginning saves time later and can reduce the amount of mixed waste that needs to be transported. This organized approach also makes the final cleanup considerably easier.
Handling the Base and Foundation
Once the main structure has been removed, attention should turn to the floor and foundation. Some sheds sit on timber frames, paving slabs, concrete blocks, gravel, or concrete foundations. The appropriate approach depends on what is present and what the area will be used for next. A solid foundation may be suitable for a future structure, while a damaged or poorly positioned base may need to be removed completely. Inspect the surface carefully for cracks, water damage, uneven areas, or other issues before making a decision.The condition of the ground underneath the shed can also reveal problems that were previously hidden. Soil may be compacted, drainage may be poor, and vegetation may have grown around the edges. If the area is going to become a lawn or garden, the soil may need to be loosened and improved. If a patio or another structure is planned, leveling and additional ground preparation may be necessary. Leaving the site clean and stable is an important part of completing the project successfully.
Sort and Dispose of Materials Responsibly
A shed can produce a surprising amount of waste once it has been dismantled. Timber, metal, roofing materials, plastic, glass, nails, screws, and miscellaneous fixtures may all need to be handled separately. Sorting materials during the dismantling process makes it easier to identify items that can be recycled or reused. It can also reduce disposal costs by preventing recyclable materials from being mixed with general waste. Before starting, consider where each major category of material will go.Some shed components may have value beyond their original purpose. Undamaged boards can sometimes be reused for garden projects, shelving, repairs, or small construction tasks. Good-quality doors, hinges, handles, and other hardware may also be worth keeping. Materials that cannot be reused should be taken to suitable disposal or recycling facilities according to applicable requirements. Responsible waste management ensures that the project does not simply move the problem from the backyard to another location.
Consider Hiring Professional Assistance
Some shed projects are relatively straightforward, particularly when the structure is small, accessible, and in good condition. However, larger or heavily damaged buildings can present considerable challenges. Professional assistance may be appropriate when the shed is structurally unstable, difficult to access, made from heavy materials, or connected to utilities. Experienced workers can assess the structure, use appropriate equipment, and organize the dismantling process in a controlled manner.Professional shed removal can also save homeowners considerable time. Instead of handling dismantling, loading, transportation, and cleanup separately, a suitable service may be able to coordinate multiple stages of the project. This can be particularly helpful for people who do not have access to suitable vehicles, equipment, or sufficient time. Before hiring anyone, it is sensible to ask what services are included, how waste will be handled, whether cleanup is part of the job, and whether additional charges may apply.
Common Mistakes to Avoid
One of the biggest mistakes homeowners make is beginning demolition without understanding the structure. Removing important supports too early can cause remaining sections to become unstable. Another mistake is failing to identify utility connections before work begins. Even a small shed may contain electrical cables or other services that require proper attention. Ignoring these details can create unnecessary hazards and potentially cause damage beyond the shed itself.Another common problem is poor waste planning. Once a structure has been dismantled, the amount of debris can be much greater than expected. Without suitable containers or transportation arrangements, materials may remain scattered around the property for days. Rushing the final cleanup can also leave behind nails, screws, broken glass, sharp metal, and uneven surfaces. A complete project should include a final inspection of the entire area so that it is safe and ready for its next use.
Preparing the Outdoor Space for a New Purpose
After the old shed has been removed, take time to consider what the newly available space can offer. A small area might become a flower bed or vegetable garden, while a larger space could accommodate a seating area, lawn, patio, workshop, or other outdoor feature. Think about sunlight, drainage, access, privacy, and the surrounding landscape before deciding what to build or plant. Planning the next stage carefully can help ensure that the cleared space becomes genuinely useful rather than simply remaining empty.Ground preparation is often the key to achieving good results. Remove leftover debris, fill holes, address uneven areas, and improve the soil if necessary. If landscaping is planned, consider how water will move through the area during wet weather. If a new structure is planned, ensure the base is appropriate for its intended use. The quality of this preparation can influence how well the new space performs over time, so it should not be rushed.
Creating a More Functional Property
Removing an unwanted shed can contribute to a broader improvement in how a property is used. Outdoor space is valuable, and a structure that is no longer needed can prevent homeowners from taking advantage of it. Clearing the area can make gardens easier to maintain, improve visual openness, and provide additional flexibility for future projects. It may also simplify routine maintenance because there is no longer a deteriorating building requiring repairs, painting, roof maintenance, or pest control.A successful project is ultimately about more than taking down an old structure. It is about making a deliberate decision about how the available space should function. By reviewing stored possessions, removing unnecessary clutter, sorting materials responsibly, and preparing the ground properly, homeowners can create an outdoor area that feels cleaner and more purposeful. With thoughtful planning, the space left behind can become an attractive and practical addition to the property.
Final Thoughts
Removing an old shed requires planning, patience, and attention to safety, but the results can be well worth the effort. A structure that once occupied valuable space can be dismantled, cleared away, and replaced with something that better reflects the property's current needs. From the initial inspection and preparation to dismantling, material sorting, waste management, and ground restoration, every stage contributes to the success of the project. Taking a systematic approach helps reduce unnecessary risks and makes the final result much easier to achieve.Whether the work is completed personally or with professional support, the objective should always be to leave the area safe, clean, and ready for its next purpose. Proper shed removal allows homeowners to eliminate an unwanted structure while making better use of their outdoor space. With responsible disposal, careful preparation, and a clear plan for the future, an outdated shed can become the starting point for a cleaner, more functional, and more attractive outdoor environment.









1 thought on “Complete Shed Removal Guide: How to Prepare, Dismantle, Dispose of Materials, and Restore Your Outdoor Space”
Comments are closed.