

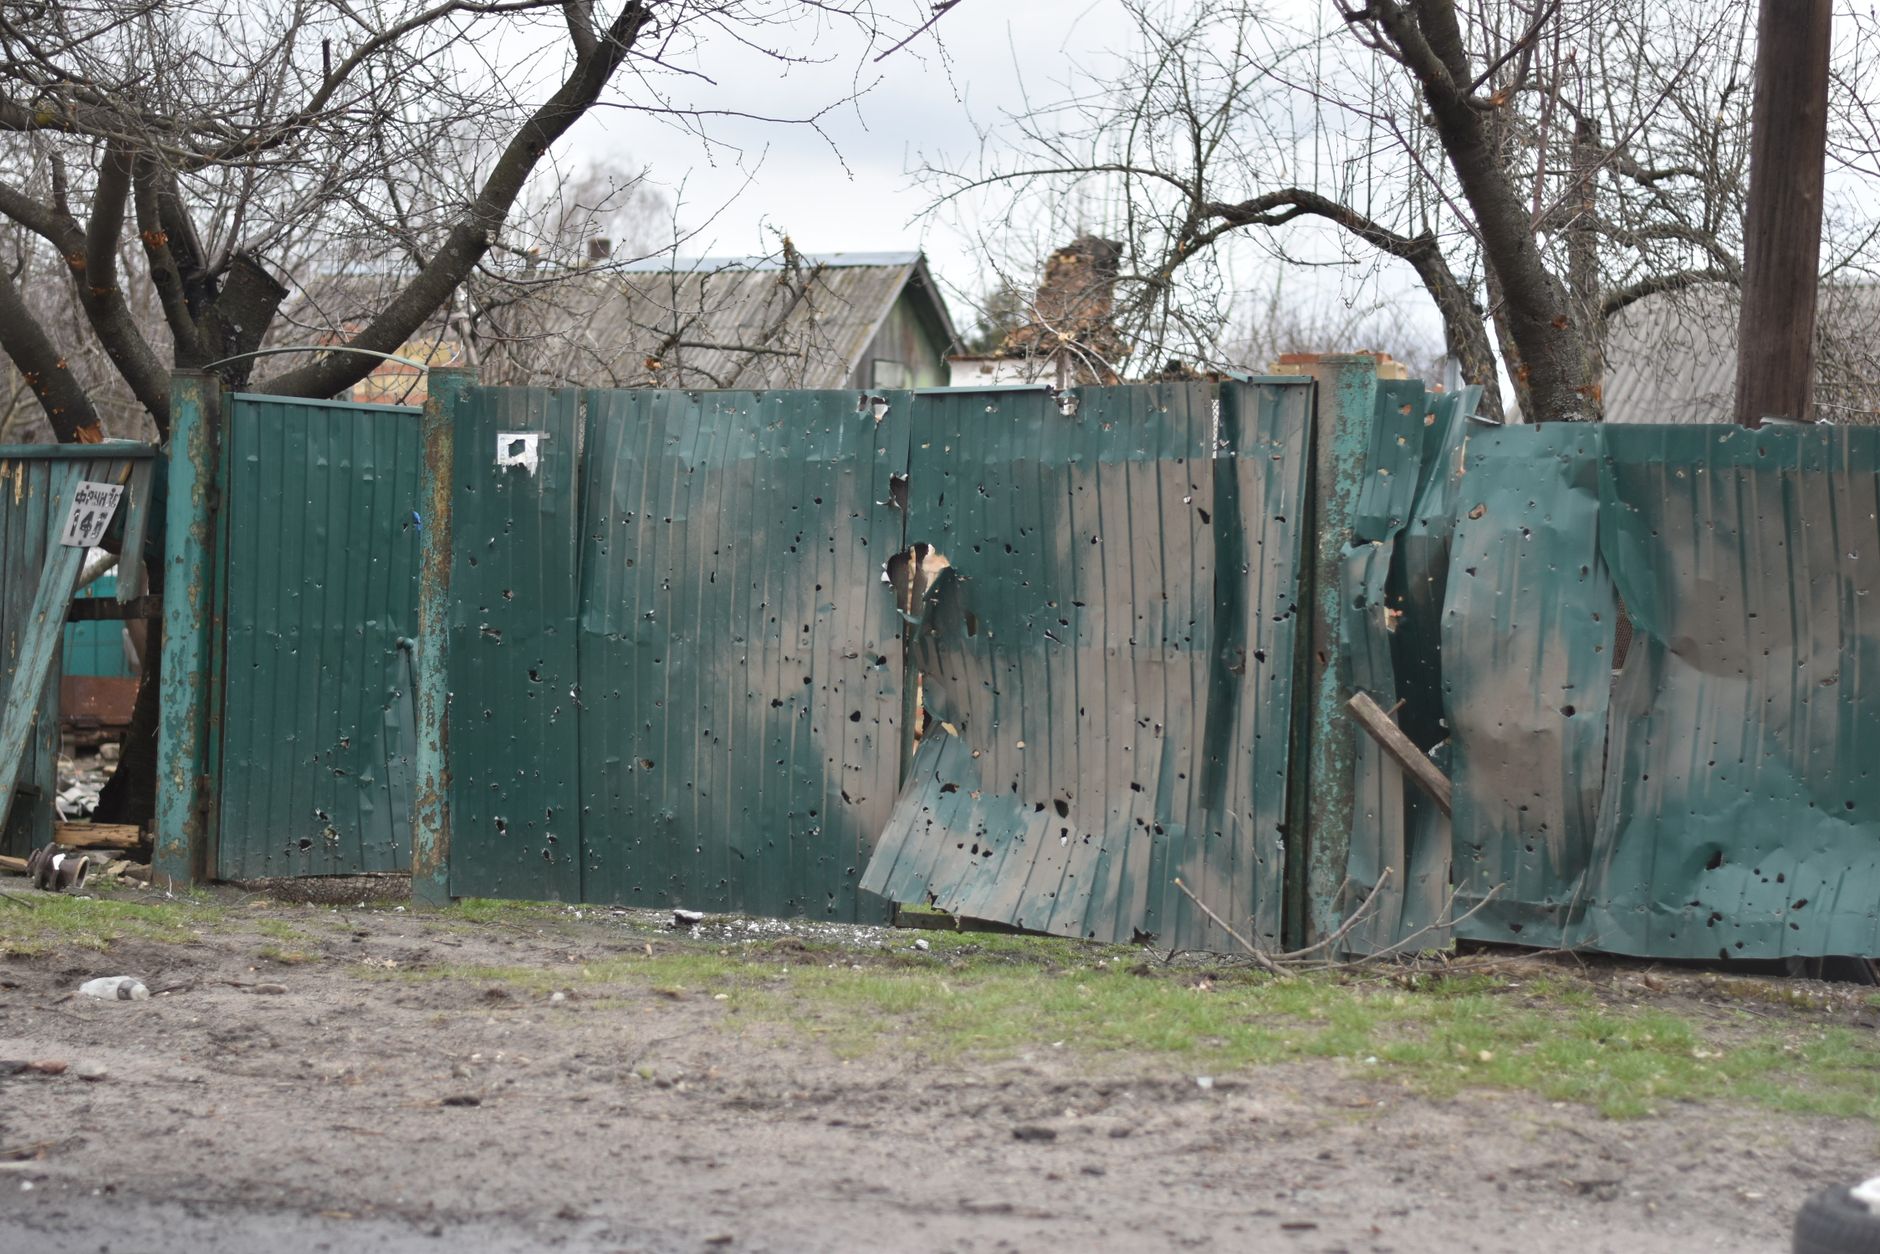
After a rainy winter, many Pacific Northwest homeowners notice a fence line that no longer looks straight, a gate that drags, or pickets that seem spongy at the bottom edge. Before you schedule a full replacement, a careful diagnosis can tell you which problems demand structural work and which can be solved with targeted repairs. Reading the clues in posts, rails, pickets, fasteners, and concrete footings helps you separate surface wear from core failures. With a level, a sturdy screwdriver or awl, and a shovel, you can assess rot at the ground line, rail splits around screw holes, and drainage around post bases, then decide whether to reset a post, swap a rail, or plan for a larger section rebuild.
1. Visible symptoms and what they usually point to
Homeowners searching for Salem wood fence repair often start with the same symptoms: a fence that leans into the prevailing wind, rails that bow, pickets that cup or split, or a gate that no longer latches. A consistent lean across a panel typically indicates a loose or rotted post at the ground line or a footing that has shifted in saturated soil. A scalloped top line where every few pickets sag usually traces back to a failed rail or to corroded fasteners that have lost their bite in wet cedar or pressure-treated lumber.
Brown or black streaks around nail heads suggest corrosion, especially where non-galvanized fasteners were used. A picket that peels away at the bottom edge without much force is a telltale sign of fungal decay accelerated by leaf litter and constant splashback. A gate that binds or drags often signals more than a tired hinge; hinge screws may be pulling from the end grain in the gate stile, or the hinge-side post may be flexing because the concrete footing is not deep enough for clay soil that swells and shrinks with moisture.
2. How rain, wind, and soil combine to stress a wooden fence
In the Northwest, long wet seasons keep soil saturated and wood surfaces damp, which speeds fungal decay at the post’s critical ground-contact zone. Posts set without a gravel collar or with flat-topped concrete trap water against the wood. Windy storms then push on fully sheathed panels like sails, transferring load into softened posts and undersized footings. Clay-heavy soil, common in many neighborhoods, holds water and exerts pressure on footings; when it dries, it can lose lateral support and cause wobbling.
Material and hardware choices interact with those conditions. Untreated fasteners can rust and expand, splitting cedar rails around screw shanks. Pressure-treated posts resist decay better than untreated lumber, but they still fail if the top of the footing funnels water toward the post. Capillary action pulls moisture up into end grain, so unsealed post tops and open picket ends stay wetter longer. Over time, UV exposure dries the outer fibers while moisture swells the inner core, encouraging warping and cupping that loosen fasteners and open gaps.
3. A simple on-site check to decide if a post can be saved
Start by sighting down the line with a tight string or a laser line to see where the lean begins and ends. Use a 2- or 4-foot level on posts and rails to separate a global tilt from a single sagging component. Push and pull each suspect post at shoulder height; if the soil heaves or the concrete moves, you likely have a footing issue. Probe the post at the soil line with an awl. If it sinks easily into soft wood or the fibers crumble, decay has compromised structural capacity, and the post should be reset or replaced, not just braced.
Dig a small inspection trench at one of the problem posts to expose the footing. Look for a “mushroom” of concrete that flares above grade and can hold puddled water away from the wood. Ideally, you should see a slight cone or crown to shed water, a gravel collar around the concrete for drainage, and a depth below the local frost line. While there, inspect rails for splits at screw holes and check for loose pickets where nails missed the rail centerline. On a dragging gate, examine the hinge-side post for movement and the hinge leaf screws for stripped holes; tightening the latch alone will not correct structural sag.
4. When targeted repairs make sense versus partial replacement
Spot repairs are effective when the failure is localized and the surrounding structure is sound. Replacing a cracked rail and refastening loose pickets with hot-dipped galvanized screws can restore a panel if the posts remain plumb and solid at the ground line. Swapping a single hinge, sleeving a stripped screw hole with a dowel, and rehanging the gate will resolve hardware issues without affecting the surrounding panels. These fixes work well where fewer than a panel’s worth of components are compromised, and the footing holds firm.
Plan for a larger section rebuild when multiple adjacent posts move under load, when probing reveals deep rot at ground contact, or when rails are split across several bays. There are trade-offs to mixing new and weathered boards: new cedar or treated pine will be brighter and may stand out until it weathers or you stain the entire run for uniform color. Matching older profiles and heights can also be a constraint if local codes or HOA guidelines require continuity along the property line. A common mistake is replacing pickets on a panel with a wobbly post; the fresh boards may look better for a season, but the lean will return because the footing problem remains.
5. Preventing the same failure from coming back
After any repair, address drainage first. When resetting posts, add several inches of compacted crushed rock at the bottom of the hole, set the post plumb, and crown the top of the concrete so water sheds away from the wood. Keep soil and mulch pulled back from the post, and leave a small gap under pickets so they do not wick moisture from the ground. Install post caps to seal the end grain, and use hot-dip galvanized or stainless fasteners to prevent rust streaks and fastener failure during wet seasons.
Protective coatings also matter. Apply a penetrating exterior-grade stain or sealer to rails and pickets during a dry window, and recoat on a regular schedule recommended by the product manufacturer. Trim shrubs and vines back from the fence line to improve airflow and speed drying after storms. On gates, use full-length hinge screws that bite into solid wood, and check latches each spring for alignment. After a wind event, brace any leaning panel temporarily with a 2×4 and recheck post movement; a quick intervention can prevent a minor footing shift from becoming a full reset.
A wood fence ages in a conversation with its environment, and the evidence is written in posts, rails, fasteners, and footings. By reading those clues and confirming them with simple tests, you can decide whether to tighten hardware, replace a few components, or rebuild a section before small issues spread. Document what you find, take photos at the ground line, and prioritize structural fixes before cosmetic touch-ups. When the diagnosis points to deeper footing or decay problems, experienced local crews can handle resets safely and bring panels back into line while you focus on keeping the rest of the run dry, sealed, and well-supported.







1 thought on “What That Leaning Fence Really Means: Diagnosing Wood Fence Damage in the Pacific Northwest”
Comments are closed.