
A video background remover helps businesses create polished product demos by eliminating distracting surroundings and replacing them with cleaner, more relevant visuals. Whether showcasing electronics, beauty products, or household items, background removal keeps viewers focused on the product's features and functionality. AI-powered tools simplify this process without requiring elaborate studio setups or green screens. This guide explains how to plan, edit, and optimize product demonstration videos for professional results across different platforms.
Plan Your Product Demo Before Removing the Background
Define Your Product Demo Goals and Target Audience
Before recording, determine what your product demonstration should achieve. You might want to explain a specific feature, demonstrate practical benefits, or encourage viewers to make a purchase. Identify your target audience and consider their interests, expectations, and common questions. Establishing clear objectives helps you choose suitable visuals, determine the video's length, and create a focused message that communicates product value effectively.
Prepare Your Product, Props, and Shooting Environment
Clean your product and inspect it for fingerprints, dust, or visible imperfections before recording. Gather essential props that demonstrate its functionality without distracting viewers. Choose a recording space with stable lighting and enough room to position the camera comfortably. Although AI background removal reduces the need for elaborate sets, a simple, uncluttered environment makes subject separation easier and minimizes unnecessary editing corrections during post-production.
Choose Camera Angles and Framing for Clear Product Visibility
Select camera angles that reveal your product's most important features and demonstrate how customers would use it. Front-facing shots provide a clear overall view, while angled perspectives highlight shape, texture, and depth. Keep the entire product within the frame, particularly during movement or demonstrations. Leave sufficient space around its edges to support accurate background removal. Use steady camera positioning to maintain visual consistency and reduce unnecessary motion blur.
How to Remove and Replace Video Backgrounds for Product Demos
Select a Video Background Remover and Import Your Footage
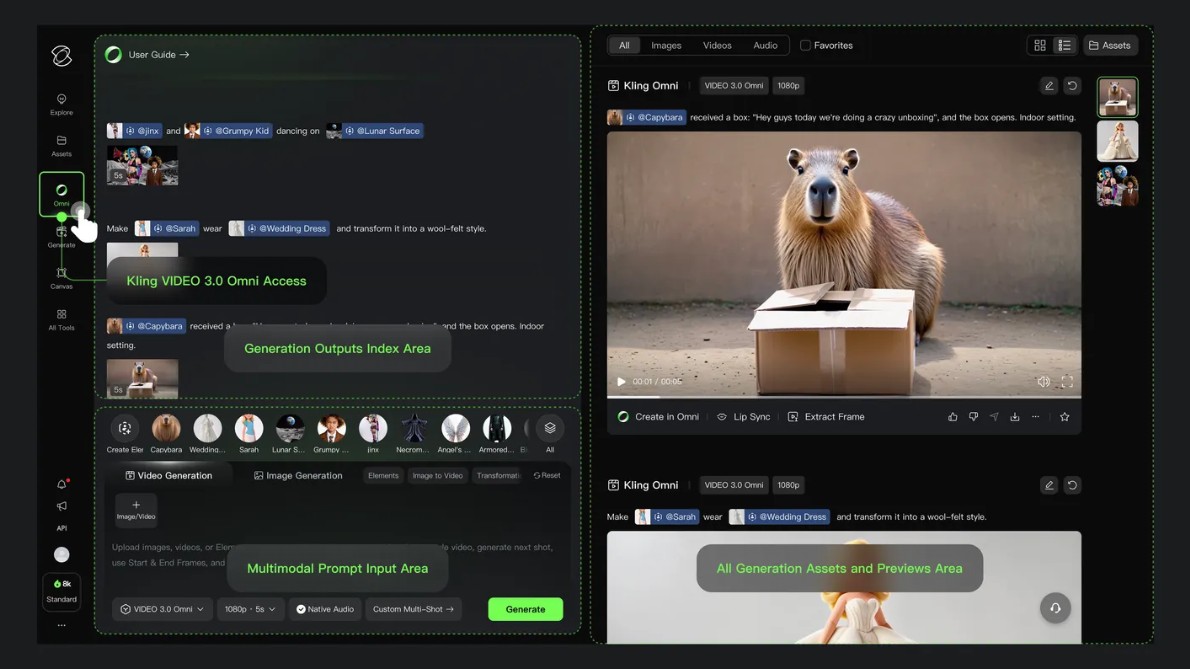
Choose a video background remover that supports AI-powered subject detection, background replacement, and common video formats. Kling VIDEO 3.0 Omni allows you to work with existing footage, making it possible to change a product demo's background without recording against a green screen. Import your clip and review its resolution, lighting, and subject visibility before editing. Starting with clear footage helps the software distinguish the product from its surroundings and supports smoother background replacement.
Remove the Original Background and Refine Product Edges
Use your editing tool's AI segmentation feature to remove video background elements while keeping the product clearly visible. Once the background disappears, inspect the product's outline for missing details, unwanted halos, or remaining background pixels. Pay particular attention to reflective surfaces, transparent materials, and narrow components, which can complicate segmentation. Adjust edge refinement, feathering, or masking settings where available. Preview the results across multiple frames to confirm that the product maintains a consistent appearance throughout the demonstration.
Add a New Background That Highlights Your Product
A substitute backdrop should compliment your goods without vying for attention. Neutral colours are good for comprehensive presentations, whereas branded surroundings accentuate your brand. The background's lighting, perspective, and visual style should match the source film for more believable results. Complex designs that obscure product edges should be avoided. Keep movement and animation unobtrusive so viewers can focus on the product's features, functioning, and advantages.
Make Your Product Demo Videos More Engaging and Professional
Apply Consistent Brand Colors, Logos, and Visual Elements
Use consistent brand colors, typography, and visual elements to make your product demonstrations recognizable. Incorporate your logo in a visible but unobtrusive position, such as a corner of the frame or a closing screen. Select background colors that complement your product and maintain sufficient contrast for readability. Keep graphic styles consistent across scenes, especially when combining different camera angles. A cohesive visual identity strengthens brand recognition without distracting from the demonstration.
Use Product Close-Ups and Visual Callouts to Highlight Features
Close-up shots help viewers examine product details that might be difficult to notice in wider frames. Focus on distinctive components, materials, controls, or functions that support your main selling points. Use subtle visual callouts, such as arrows or highlighted areas, to direct attention toward important features. Avoid displaying too many annotations simultaneously. Combine detailed shots with practical demonstrations so viewers understand not only what each feature looks like but also how it works.
Add Captions, Labels, and Smooth Transitions
Captions make product demonstrations easier to follow, especially when viewers watch without sound. Use concise labels to identify product features, explain functions, or communicate important specifications. Position text where it remains readable without covering essential visual details. Apply smooth transitions between scenes to maintain a natural viewing experience. Simple cuts or short fades generally work better than elaborate effects. Keep caption timing synchronized with the demonstration so viewers can comfortably process both information and visuals.
Export and Optimize Product Demo Videos for Different Platforms
Export your completed product demo using settings appropriate for its intended platform. Use a 16:9 aspect ratio for standard landscape videos, 9:16 for vertical short-form content, and square formats when required. Choose an appropriate resolution, frame rate, and bitrate to balance visual quality with file size. MP4 with H.264 encoding offers broad compatibility. Before publishing, review the exported video for compression artifacts, caption readability, consistent audio levels, and background replacement errors.
Conclusion
A video background remover makes it easier to produce clean, engaging product demonstrations without investing in complex studio environments. Effective results begin with thoughtful planning, clear footage, and camera angles that showcase important features. Careful background removal, edge refinement, and suitable replacement visuals help maintain a professional appearance. Adding consistent branding, informative callouts, and accessible captions further improves presentation quality. With the right editing workflow and export settings, businesses can create product demos that communicate value across multiple platforms.