

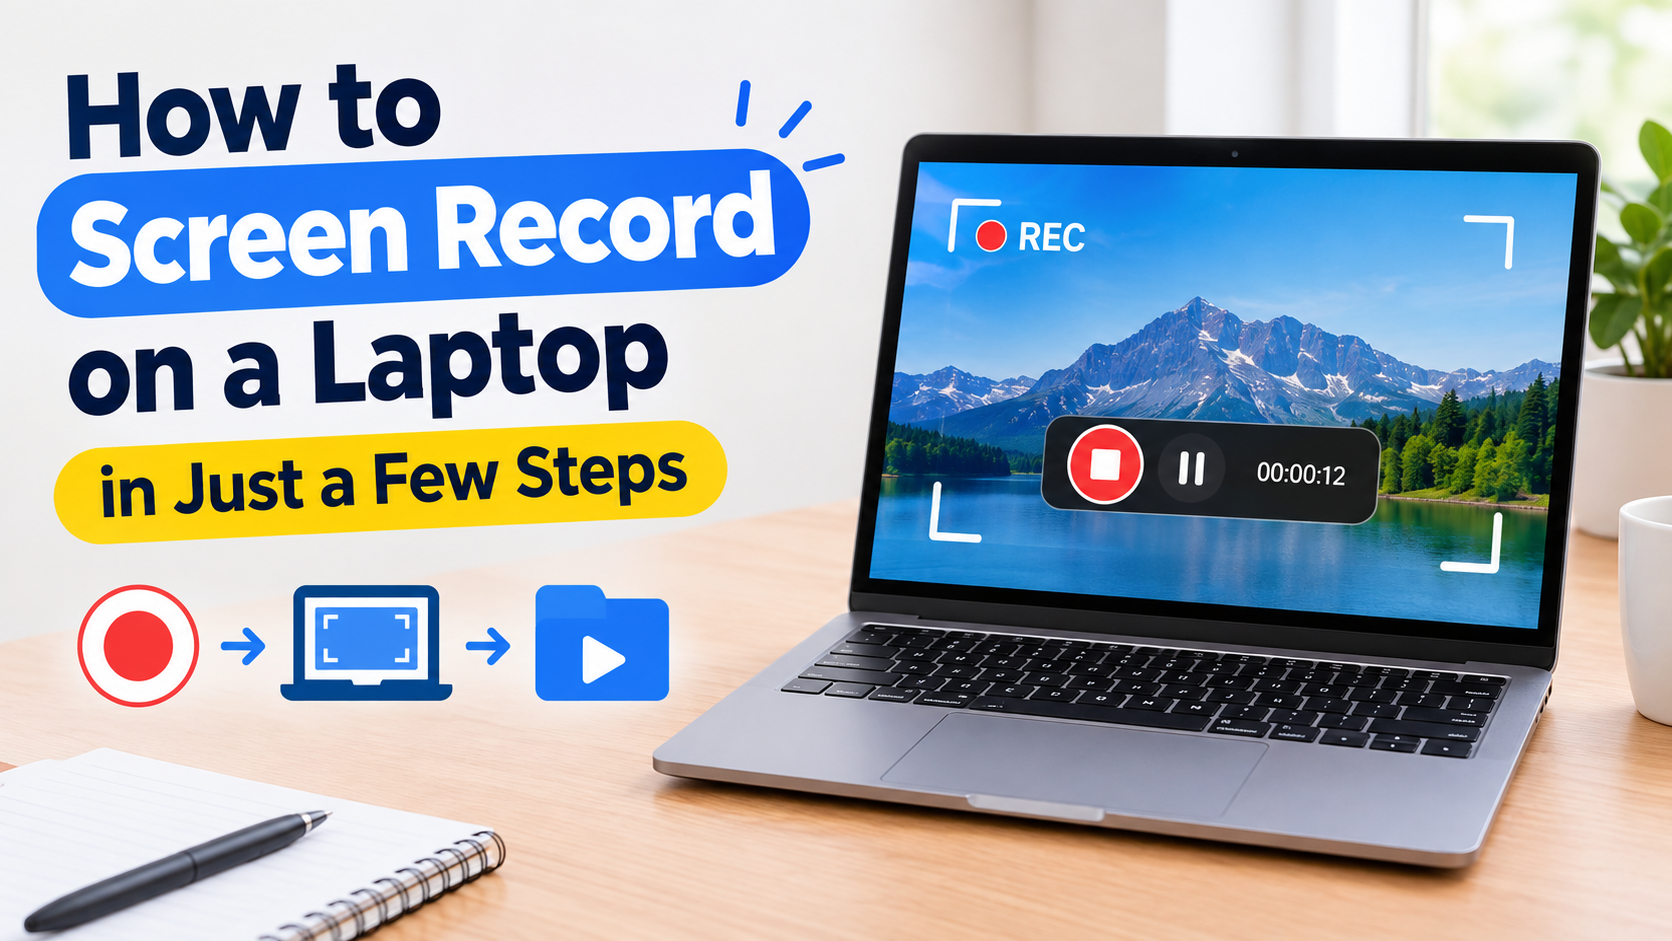
Screen recording is one of those laptop features that can make everyday tasks much easier. Whether you want to create a tutorial, demonstrate a software problem, record gameplay, save a webinar for later reference, or show someone exactly what is happening on your screen, a screen recorder can save you a lot of time.
The good news is that you do not need advanced video-editing skills to get started. Both Windows laptops and MacBooks have built-in screen recording options, while third-party programs can provide additional controls when you need them.
If you are wondering how to screen record on laptop, the easiest approach is to start with your computer's built-in tools. Windows users can use Xbox Game Bar or Snipping Tool, while Mac users can use the Screenshot toolbar or QuickTime Player. If you need more recording controls, a third-party application such as Leawo Free Screen Recorder can be another option.
Introduction
There are countless situations where a screenshot simply is not enough.
Suppose you are explaining how to use a particular application. A still image can show where a button is located, but a recording can demonstrate every click from beginning to end. The same applies when reporting a software bug: instead of describing the problem in a long message, you can record the issue and send the video to technical support.
Screen recording is also useful for:
- Creating step-by-step tutorials.
- Demonstrating software or website problems.
- Recording gameplay.
- Capturing remote meetings when permitted.
- Saving online presentations or webinars for later reference.
- Creating educational videos.
- Showing a colleague how to complete a task.
- Recording a presentation or demonstration.
The process is much simpler than many people expect. In this guide, we will explain how to screen record on a laptop using built-in Windows and macOS tools before looking at a few third-party alternatives.
1. How to Screen Record on a Windows Laptop
Windows laptops offer more than one way to capture the screen. The best option depends on your Windows version and the type of recording you want to make.
For a quick recording, Xbox Game Bar is convenient. For newer Windows systems, Snipping Tool offers another straightforward option. If you want additional recording controls, a dedicated third-party recorder may be worth considering.
1.1 Method 1: Record Your Screen with Xbox Game Bar
Xbox Game Bar was originally designed with gaming in mind, but its recording functionality can also be useful for capturing activity inside supported applications.
It is particularly convenient because you do not have to install another program.
How to screen record on a laptop with Xbox Game Bar
- Open the application or window you want to record.
- Press Windows + G on your keyboard.
- Look for the Capture panel.
- Select the recording button.
- Alternatively, press Windows + Alt + R to start recording directly.
- Perform the actions you want to capture.
- Press Windows + Alt + R again when you want to stop.
- Open the notification or recording location to access the saved video.
Xbox Game Bar may not record every part of the Windows desktop or every type of application. It is primarily designed around recording an application window, which is worth remembering if you want to capture your entire desktop.
For simple application demonstrations and supported games, however, it can be one of the fastest ways to screen record on laptop without installing additional software.
1.2 Method 2: Use Snipping Tool
Snipping Tool is another useful Windows option, particularly on newer versions of Windows.
Many people associate it with screenshots, but newer versions also include screen recording capabilities.
How to record with Snipping Tool
- Open the Start menu.
- Search for Snipping Tool and launch it.
- Select the recording option.
- Choose New.
- Drag across the area of the screen you want to capture.
- Confirm the selected recording area.
- Start the recording.
- Perform the actions you want to capture.
- Stop the recording when you are finished.
- Preview and save the resulting video.
One advantage of Snipping Tool is that it provides a relatively simple interface. You do not have to navigate through numerous recording settings just to capture a small section of your screen.
It is a good choice when you need to demonstrate something specific, such as a website feature, application setting, or particular part of your desktop.
1.3 Method 3: Use a Third-Party Recorder
Built-in Windows tools are convenient, but they are not designed to provide every feature a content creator might need.
If you want more control over recording areas, output settings, audio sources, or other recording preferences, you can consider a dedicated application such as Leawo Free Screen Recorder.
A third-party recorder can be particularly useful for tutorials, presentations, demonstrations, and other projects where you want more flexibility than the default Windows tools provide.
How to screen record with a third-party recorder
The exact interface varies depending on the software, but the general process is similar:
- Install and open your chosen screen-recording application.
- Select the screen-recording function.
- Choose whether you want to capture the full screen or a specific area.
- Configure microphone and system-audio options if available.
- Select the desired video settings.
- Start recording.
- Perform the actions you want to capture.
- Stop the recording.
- Preview the result.
- Save the video to your preferred folder.
The main benefit of using a third-party application is flexibility. You may get features such as customizable recording regions, audio controls, cursor settings, annotations, or additional output options.
Important consideration
More features can also mean more settings to learn. If you only need to record a quick demonstration, Windows' built-in tools may be all you need.
1.4 Which Windows Screen Recorder Should You Use?
|
Method |
Benefits |
Limitations |
Best For |
|
Xbox Game Bar |
Built into Windows, quick shortcut |
Primarily focused on supported apps and games |
Quick recordings and gameplay |
|
Snipping Tool |
Simple interface, easy area selection |
Fewer advanced controls |
Tutorials and short demonstrations |
|
Leawo Free Screen Recorder |
More recording flexibility |
Requires additional software |
Users needing extra controls |
If you are new to screen recording, start with Xbox Game Bar or Snipping Tool. There is no reason to install complex software for a task that can be completed with a built-in feature.
When your needs become more advanced, a third-party recorder can give you additional options.
2. How to Screen Record on a MacBook
MacBooks also include built-in screen-recording tools, so you do not necessarily need to download an application.
The Screenshot toolbar is the easiest place to start. QuickTime Player provides another familiar option, while third-party programs such as OBS Studio can provide more advanced controls.
2.1 Method 1: Use the Screenshot Toolbar
Modern macOS versions include a dedicated screen-capture toolbar that can record either the entire screen or a selected portion.
How to screen record on a MacBook
- Press Command + Shift + 5.
- Look at the controls displayed near the bottom of the screen.
- Select the option to record the entire screen or a selected portion.
- If necessary, open Options to choose a microphone and save location.
- Start the recording.
- Perform the actions you want to capture.
- Click the stop button in the menu bar when finished.
- Locate the saved recording.
This is probably the easiest answer for someone searching how to screen record on a laptop when the laptop is a MacBook.
You can choose a specific portion of the display, which is useful when you do not want unrelated desktop activity included in the final video.
2.2 Method 2: Use QuickTime Player
QuickTime Player has been included with macOS for years and can also be used for screen recording.
How to record with QuickTime Player
- Open QuickTime Player.
- Select File from the menu.
- Choose New Screen Recording.
- Select your recording preferences.
- Choose whether you want to capture the entire screen or a selected portion.
- Start the recording.
- Complete the activity you want to capture.
- Stop the recording.
- Save the video.
QuickTime is particularly useful if you already use it for playing media and want to keep your workflow inside Apple's built-in applications.
However, users who want extensive recording controls may eventually prefer dedicated software.
2.3 Method 3: Use a Third-Party Recorder
If you search for screen recorders for Mac, you will find a wide range of applications designed for everything from simple tutorials to professional content production.
OBS Studio is one popular example. It provides significantly more control than the basic macOS recording tools.
How to record your Mac screen with OBS Studio
- Download and install OBS Studio.
- Open the application.
- Create a new scene.
- Add a Display Capture source.
- Select the display you want to capture.
- Add an audio source if you want microphone or system audio.
- Adjust the recording settings.
- Select the desired output location.
- Click Start Recording.
- Complete your screen activity.
- Click Stop Recording when finished.
- Open the selected output folder to find the video.
OBS can be especially useful when you want to combine screen footage with a webcam, microphone, multiple windows, or other sources.
The trade-off is that it has more controls than a beginner may immediately need.
2.4 Which Mac Screen Recorder Should You Use?
|
Method |
Benefits |
Limitations |
Best For |
|
Screenshot Toolbar |
Built into macOS and very easy |
Limited advanced controls |
Quick screen recordings |
|
QuickTime Player |
Familiar and simple |
Fewer production features |
Basic recordings |
|
OBS Studio |
Highly customizable |
Steeper learning curve |
Streaming and advanced recording |
For a one-time recording, the Screenshot toolbar is usually the easiest starting point.
If you want to produce more sophisticated content, OBS or another dedicated screen recorder for Mac can provide considerably more control.
3. Common Screen Recording Problems and How to Fix Them
Even though screen recording is simple, occasional problems can occur. Fortunately, most are easy to troubleshoot.
3.1 Screen Recording Shortcut Doesn't Work
Cause: The shortcut may be disabled, unavailable on your operating-system version, or conflicting with another application.
Solution: First, confirm that you are using the correct shortcut for your system. On Windows, try opening Xbox Game Bar manually with Windows + G. On macOS, use Command + Shift + 5 to open the Screenshot toolbar.
If the shortcut still does not respond, restart the application or computer and check the relevant system settings.
3.2 The Recording Is Black
Cause: Some applications use protected content or special graphics-rendering methods that can interfere with screen capture.
Solution: Test your recorder with another ordinary application. If normal desktop applications record correctly but one particular application produces a black screen, the issue may be related to that application's content protection or rendering system.
Do not assume that changing the video format will fix a protected-content capture problem.
3.3 No Audio in the Recording
Cause: The microphone or system-audio source may not have been selected.
Solution: Before recording, open the audio settings and verify which source is enabled. If you want your voice included, make sure the correct microphone is selected.
It is also worth making a short test recording before starting a long tutorial. This can prevent the frustrating situation of discovering afterward that the entire video has no sound.
3.4 Screen Recording Is Laggy or Choppy
Cause: Recording can require significant CPU, GPU, memory, and storage resources. High-resolution recording can place additional pressure on your laptop.
Solution: Close unnecessary applications before recording. Lower the recording resolution or frame rate if necessary, and make sure you have enough free storage space.
If you are recording gameplay, reducing graphics settings may also improve recording performance.
A short test recording is again useful because it lets you identify performance problems before making the final video.
3.5 The Recorded Video File Is Too Large
Cause: High resolution, high frame rates, and long recording sessions can produce large files.
Solution: Reduce the recording resolution or frame rate when maximum quality is not necessary. You can also convert the finished recording to a more efficient format if appropriate.
For tutorials, for example, you may not need extremely high-resolution footage if most of the content consists of application windows and text.
4. FAQs
1. Can I screen record without downloading an app?
Yes. Both Windows and macOS include built-in screen-recording options.
Windows users can use tools such as Xbox Game Bar or Snipping Tool, depending on their version of Windows. Mac users can use the Screenshot toolbar or QuickTime Player.
Third-party software is only necessary when you want features that the built-in tools do not provide.
2. What is the shortcut for screen recording on Windows?
For Xbox Game Bar, Windows + Alt + R starts or stops a recording.
You can also press Windows + G to open the Game Bar interface and access its recording controls.
Keep in mind that Xbox Game Bar is primarily designed around recording supported applications rather than functioning as a universal desktop recorder.
3. How do I screen record with audio?
Before starting the recording, check your recorder's audio settings.
If you want to capture your voice, select your microphone as an audio source. If you need application or system audio, make sure the relevant system-audio option is enabled.
The exact controls vary between Windows and Mac and between different recording applications.
Always make a short test recording first. This is the easiest way to confirm that your microphone and other desired audio sources are working.
4. Where are screen recordings saved on a laptop?
The location depends on the recording tool.
Xbox Game Bar commonly saves recordings in the Videos > Captures folder.
macOS screen recordings are typically saved to the location selected in the Screenshot toolbar's options. If you have changed the default location, the file may be stored somewhere else.
Third-party recording applications usually allow you to choose a custom output folder.
If you cannot find a recording, check the recorder's settings for the current save location.
Closing
Recording your laptop screen is not nearly as complicated as it might seem.
Whether you want to explain a software feature, demonstrate a problem, create a tutorial, capture gameplay, or record a presentation, you can usually get started in just a few steps.
Windows users can begin with Xbox Game Bar or Snipping Tool. MacBook users can use the Screenshot toolbar or QuickTime Player. These built-in options are often more than enough for casual recording.
When you need more advanced controls, dedicated software can take things further. A program such as Leawo Free Screen Recorder can provide additional flexibility on Windows, while applications such as OBS Studio are useful for users who need more sophisticated recording setups on macOS.
The most important takeaway is simple: start with the tools already available on your laptop. You do not need to spend time learning complicated software if all you want is a quick screen recording.
Once you understand the basics, you can experiment with microphones, recording areas, video quality, frame rates, and other settings. Before long, you will know exactly which method works best for your particular task.
So, the next time you need to screen record on laptop, open the built-in recording tool first. A useful recording may be only a keyboard shortcut away.







1 thought on “How to Screen Record on a Laptop in Just a Few Steps”
Comments are closed.