

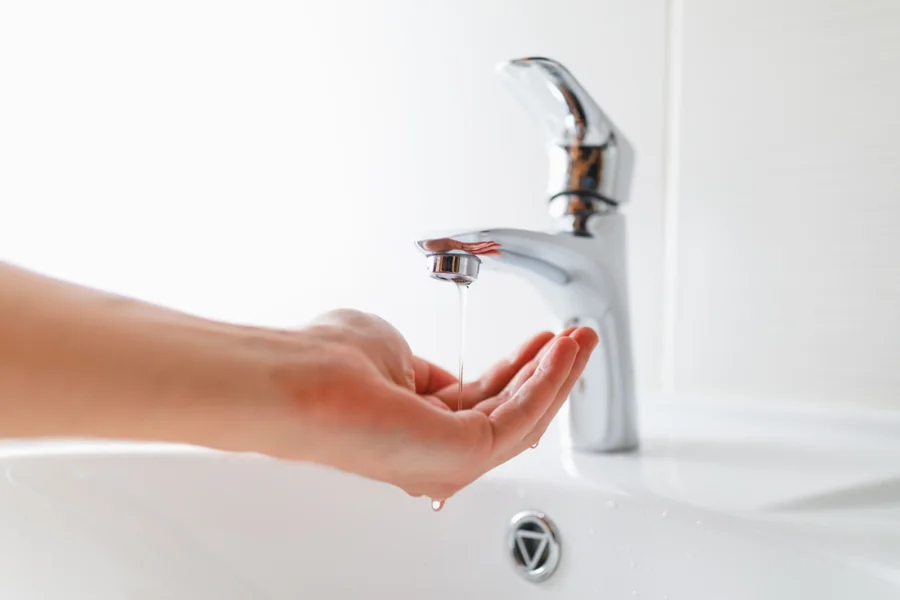
Low water pressure makes everyday tasks drag. Showers sputter, washing machines take forever to fill, and sprinklers barely mist the lawn. Before assuming the problem is buried deep in the pipes, a few targeted checks can help distinguish a quick fix from an issue that warrants a professional visit. This guide walks Midwest City homeowners through a practical diagnostic path: start at one fixture, step back to the whole house, rule out hot-side restrictions at the water heater, and confirm findings with a simple pressure test. The goal is to pinpoint where the restriction sits so the right repair happens once, not after a round of guesswork.
1. Start at one fixture: aerators, angle stops, and supply lines
If low pressure shows up at a single sink or shower while other fixtures run normally, focus on the last few feet of piping. Unscrew the faucet aerator or showerhead and check for grit or scale that may be choking the flow. A clogged aerator creates a weak, uneven spray even if building pressure is fine. Next, look under the sink or behind the toilet and confirm the small shutoff valves, called angle stops, are fully open. Partially closed stops or corroded stems can throttle flow. If these basics do not restore pressure, experienced plumbers in Midwest City, OK, can quickly tell whether a fixture cartridge, a kinked braided supply line, or a deeper line issue is at fault.
A common single-fixture scenario is a kitchen sink that dribbles after a weekend of dishwashing. Removing the aerator often exposes sand-sized debris or calcium flakes that rinse away when the tap is turned on. If the stream strengthens with the aerator off but weakens again when the aerator is reinstalled, clean or replace the aerator. If nothing changes, close the hot and cold angle stops, disconnect each flexible supply line, and inspect for internal liner collapse near the ferrules. Reopen the stops momentarily into a bucket to confirm strong flow at the valves themselves, then reconnect. Short, controlled tests like these keep water contained while revealing where the restriction begins.
2. If the whole house is weak: PRV, main shutoff, and meter-side issues
When every fixture is underperforming, expand the search to the building’s main components. Check that the main shutoff valve is fully open. Gate valves can look open when the stem sticks, and older ball valves sometimes fail mid-travel. If your home has a pressure-reducing valve (PRV) where the main line enters, its internal diaphragm or screen can clog, causing pressure to drop throughout the house. Turning a PRV’s adjustment bolt clockwise raises outlet pressure, but cranking it up to mask a restriction can cause water hammer or stress supply lines. Correcting a failing PRV or clearing its screen is safer than over-adjusting.
Whole-house filters and softeners can also starve the system if their cartridges are overdue for replacement or if a bypass is partially closed. If ports exist before and after a filter, use them to compare pressure and confirm a filter-related drop. Another overlooked cause is a hidden leak on an irrigation branch. A cracked sprinkler lateral can bleed flow into the soil, leaving showers and sinks limp. One Midwest City scenario: morning showers turn weak the first time the timer runs. Feeling soggy turf or spotting water near a backflow preventer indicates a yard-side leak that steals water from indoor fixtures. Fixing the break returns normal pressure without touching indoor plumbing.
3. Hot-side only problems: water heater sediment and mixing valves
If cold taps are strong but hot taps are sluggish, look at the water heater and mixing components. Sediment can accumulate in the water heater tank, and flakes sometimes lodge in the outlet nipple, heat-trap fittings, or at the hot-side inlet of a faucet cartridge. A dip tube issue is less common for pressure loss but can affect hot flow patterns. Thermostatic mixing valves, often used with high-output heaters, can fail internally, restricting hot water while cold water remains fine. Closing the cold feed to a suspect fixture and comparing flow can confirm a hot-only restriction.
Simple checks help narrow it down. Open the heater’s drain valve briefly into a hose to gauge sediment discharge, then flush according to the manufacturer’s instructions. At a laundry tub, compare the hot and cold flows from the same hose-thread outlet. If hot is markedly weaker at a nearby utility sink but cold is strong, the restriction is near the heater outlet or on the hot branch. If both are weak, look upstream at the PRV or main. In some homes with recirculation, a stuck check valve can also skew flow. Documenting where hot and cold diverge makes the eventual repair faster.
4. Measure, don’t guess: test static and running pressure with a hose-bib gauge
A ten-dollar hose-bib gauge removes much of the uncertainty. Thread it onto an outdoor spigot or a laundry faucet, then record the static pressure with all fixtures closed. Then open a high-demand fixture, such as a tub filler, and note the dynamic pressure while the water is running. Large drops between static and running readings indicate a supply restriction, a clogged filter, or an undersized run feeding too many fixtures. Small changes with weak flow at the tap suggest a fixture-level blockage instead. If you have a whole-house filter, check pressure before and after it to see if the medium is the bottleneck.
Gauge results guide next steps. Low static pressure at the first hose bib on the system hints at an issue near the meter, main shutoff, or PRV. Normal static with a steep drop under load reflects friction loss, debris, or a partially closed valve somewhere downstream. The trade-off in DIY testing is access versus risk: touching a frozen or corroded valve can cause leaks. If a valve resists, stop rather than force it. A licensed plumber can isolate sections using additional test points, protect old valves with packing adjustments, and, when necessary, replace a failing PRV or main without collateral damage.
5. When to call a local pro and how to prepare for the visit
Call a plumber when pressure is low across the entire house, when a PRV or main valve is suspect, when hot-only restrictions persist after flushing the heater, or when a sprinkler or slab leak may be involved. Also bring in help if you see rusty water, hear banging when taps close, or spot corrosion at shutoffs. These signs often mean the fix involves more than cleaning an aerator. A pro can perform controlled pressure tests at multiple locations, pull and inspect faucet cartridges, and verify code-compliant pressure settings that protect appliances and supply lines.
Good preparation shortens the appointment. Make a quick list of which fixtures are weak, whether the problem is constant or intermittent, and any recent changes, such as a filter replacement or valve adjustment. Clear access to the water heater, PRV, and main shutoff. If you know the pipe materials in your home, such as PEX, copper, CPVC, or legacy galvanized, share those, along with the make and model of the water heater and any whole-house filter. With a clear symptom map and easy access, the underlying restriction is usually found quickly, and water pressure returns to the level your fixtures were designed to deliver.







1 thought on “When Midwest City Homeowners Should Call a Plumber for Low Water Pressure and What to Check First”
Comments are closed.