

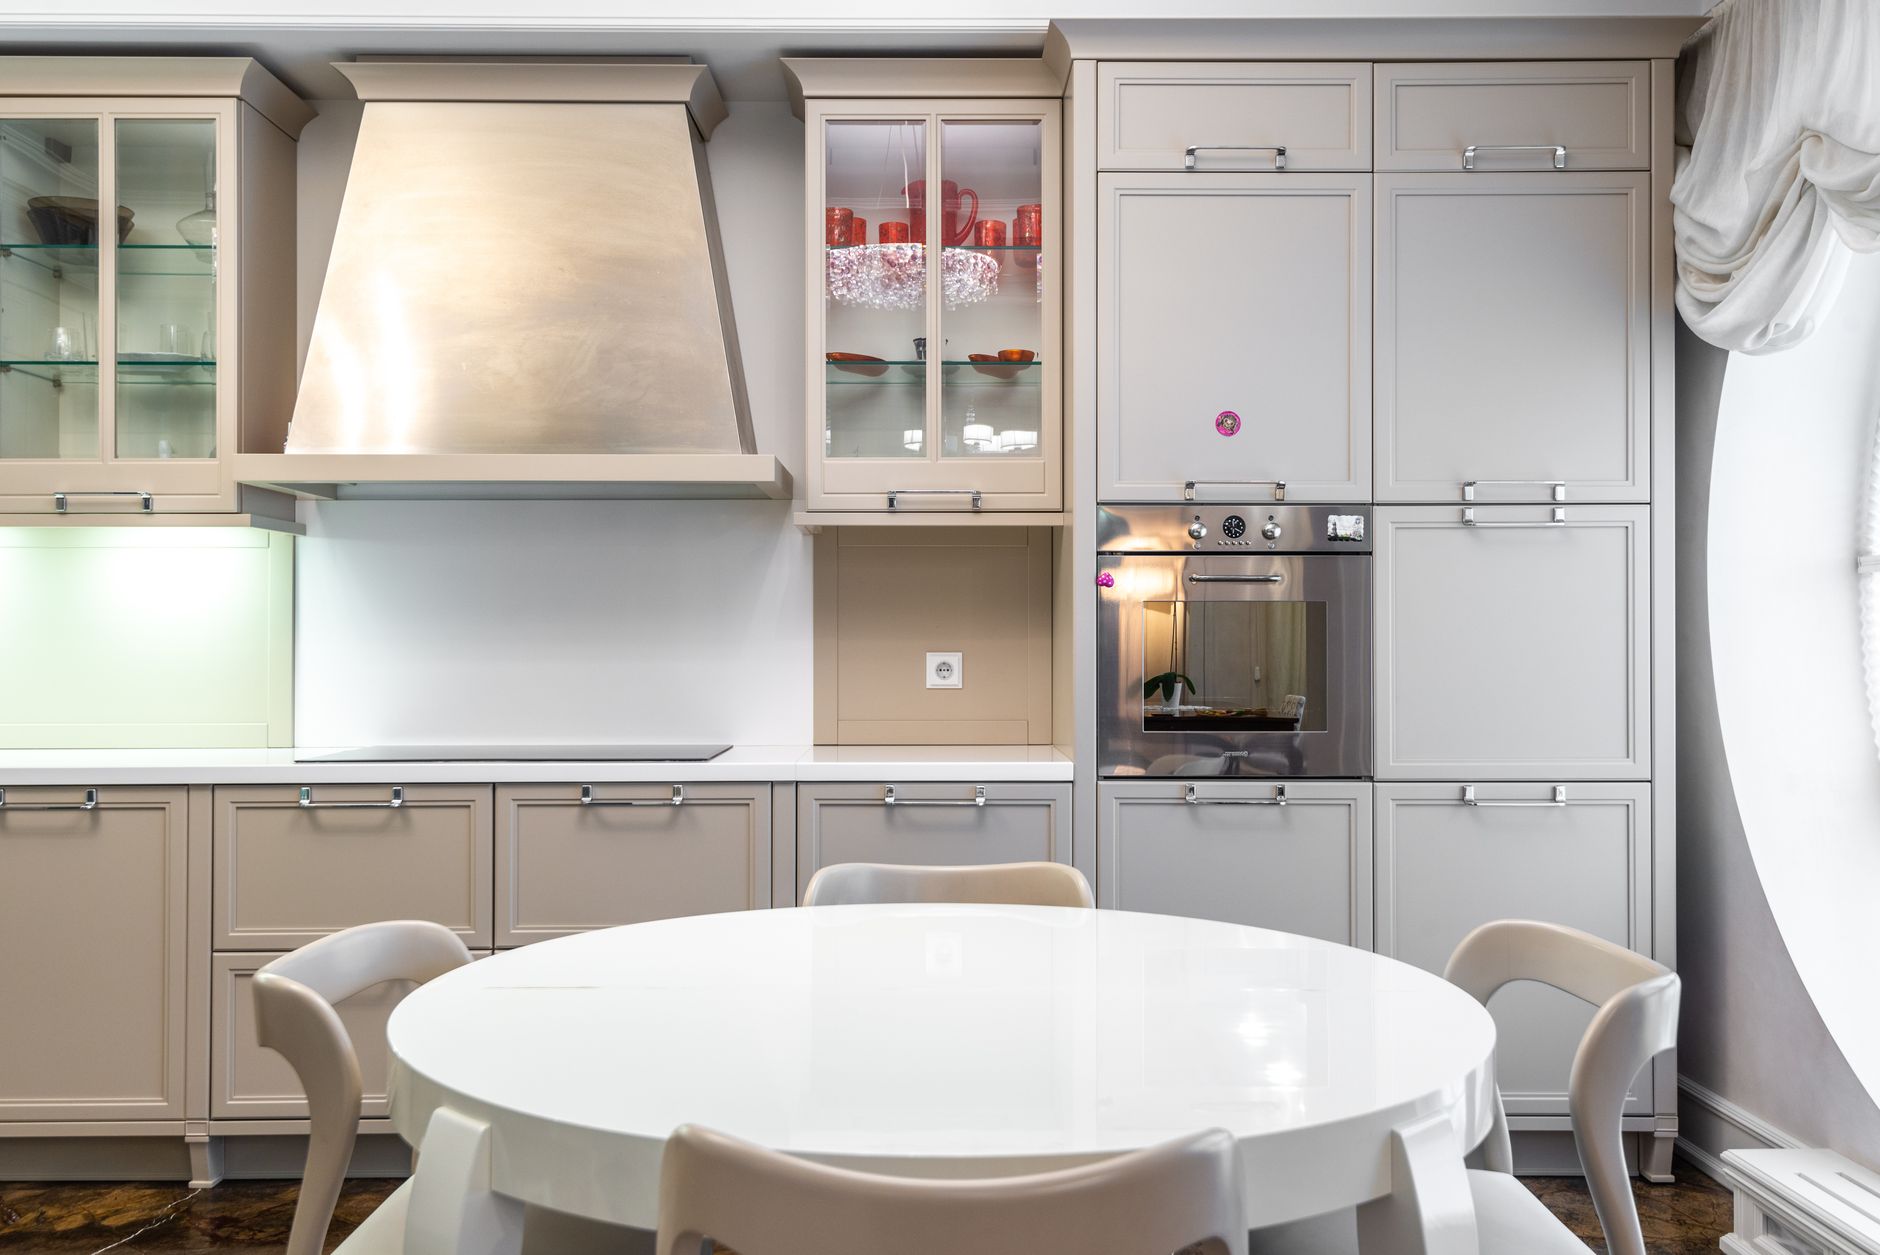
Great-looking kitchen renderings start with unglamorous prep work: careful measuring, early product decisions, and a reality check of what your house can handle. Before you sketch an island or order cabinets, document the room from subfloor to ceiling joists. Note every window and door opening, including trim widths and swing direction; the exact lengths of wall runs; ceiling height changes; soffits; beams; and any chases that hide vent stacks or ductwork. Record the locations of supply lines, drains, HVAC registers, return grilles, and outlets. Capture at least two measurements per wall because older homes rarely run perfectly square. This groundwork is what turns a pretty plan into a kitchen you can actually cook in.
1. Map Every Fixed Element Before Sketching Layouts
Create a scaled plan that includes the studs you intend to keep, existing plumbing stacks, and any non-negotiable obstacles, such as a low beam or a masonry chimney. Measure across runs at the floor (36 inches high) and at the ceiling so your cabinet order can include scribes or filler strips if walls bow. Photograph shutoff valves, breaker labels, and subfloor conditions for later reference. If you want a second set of eyes on clearances and layout feasibility, local resources such as renovation services in Dayton, OH can help validate measurements or spot conflicts that are easy to miss on paper.
2. Check Aisle Widths, Door Swings, and Landing Zones
A kitchen that looks spacious can still feel cramped when doors and drawers open. Test aisles around the range, sink, and refrigerator to ensure two people can pass without bumping hips. Remember that a dishwasher door, oven door, and trash pull-out often want to occupy the same space at the same time. If bar stools are on your wish list, account for knee space and overhang depth, then add clearance behind each seat so someone can walk by. A common mistake is squeezing in an oversize island that reduces a 42-inch target aisle to something much tighter once appliance handles are installed. In a real-world scenario, you might find that shifting the island by 3 inches or switching to a counter-depth refrigerator resolves a persistent door conflict.
3. Choose Appliances and Ventilation Early
Appliance choices determine cabinet sizing, electrical capacity, and duct routing. Decide whether you want a 30-inch or 36-inch range, a cooktop with a separate wall oven, or an induction surface that needs a dedicated 240-volt circuit. Pick a refrigerator type now because a standard-depth unit protrudes several inches beyond adjacent cabinetry, while counter-depth models align more closely with doors and drawers. For ventilation, choose a hood that matches your cooking style: boiling pasta and simmering sauces are easy, but frequent searing or stir-frying requires stronger capture and a full duct to the exterior. High airflow can require makeup air and thoughtful placement to avoid drafts. Choosing late often triggers redesigns to fit a wider range or a larger hood body.
4. Audit Power, Plumbing, and Gas Before Moving Fixtures
Kitchens demand multiple dedicated circuits for the dishwasher, disposal, microwave or microwave drawer, and often the refrigerator. Plan GFCI and AFCI protection where required, and confirm panel capacity for added loads like an induction range or warming drawer. If you want to relocate a sink to an island, study the path of the drain and vent, and the slope needed to reach an existing stack, without creating a low ceiling in the room below. On a slab foundation, trenching for a new island sink might be feasible but messy and time-consuming; some homeowners opt for a prep sink with a shorter drain run or keep the main sink on an exterior wall. Gas lines need proper sizing if you are switching from an electric range to gas or adding a second oven.
5. Stress-Test the Plan with Real Routines
Lay painter’s tape where cabinets and appliances will go and walk your cooking path with a cutting board in hand: fridge to prep zone, sink to cooktop, cooktop to landing area. Simulate a baking day by placing a stand mixer where it would live and checking that sheet pans have a landing spot next to the oven. Build storage zones on paper: tray dividers near the oven, spice storage flanking the range, a pull-out for trash and recycling beside the sink, a tall pantry with roll-outs for bulk items, and a corner solution like a blind pull-out or lazy susan so pasta bowls are not buried. Layer lighting with dimmable recessed cans for ambient light, under-cabinet LEDs for tasks, and pendants over the island to prevent shadows cast by upper cabinets. Consider the trade-offs: open shelves offer quick access but collect dust and grease, while full-height wall cabinets add capacity and keep things cleaner. For surfaces, quartz resists stains with minimal upkeep, while natural marble requires periodic sealing and is prone to etching; butcher block offers warm prep space but benefits from regular oiling.
Two quick scenarios can save headaches later. First, if a busy weeknight often includes unloading groceries while someone else cooks, make sure the refrigerator door clears the island and provides a landing zone within arm’s reach. Second, if your HVAC installer plans a high-capacity hood, verify the duct route before drywall. An unexpected change in joist direction can push the hood duct into a taller soffit or a different exterior wall, affecting cabinet heights and symmetry. After installation, expect a small punch list: adjust soft-close hinges for even reveals, add felt pads under stool legs, caulk the sink seam after the first week of use if settling opens a hairline gap, and relocate toe-kick heat registers if airflow is blocked by new cabinetry.
Doing this homework upfront makes design meetings faster and construction smoother. With true dimensions, confirmed utility constraints, and appliance specs locked in, your layout choices become clearer and change orders less likely. You will know whether an island or a peninsula fits, where a vent hood can run to the exterior, how many circuits your panel can support, and which finishes fit your maintenance style. That level of clarity helps any team you hire produce drawings that reflect how you actually cook, not just how the room looks on a screen, and it gives you a kitchen that works as well on a busy Tuesday as it does when you are hosting friends on Saturday.







1 thought on “Before You Draw the Floor Plan: Measurements and Specs That Make Kitchen Redesigns Work”
Comments are closed.