

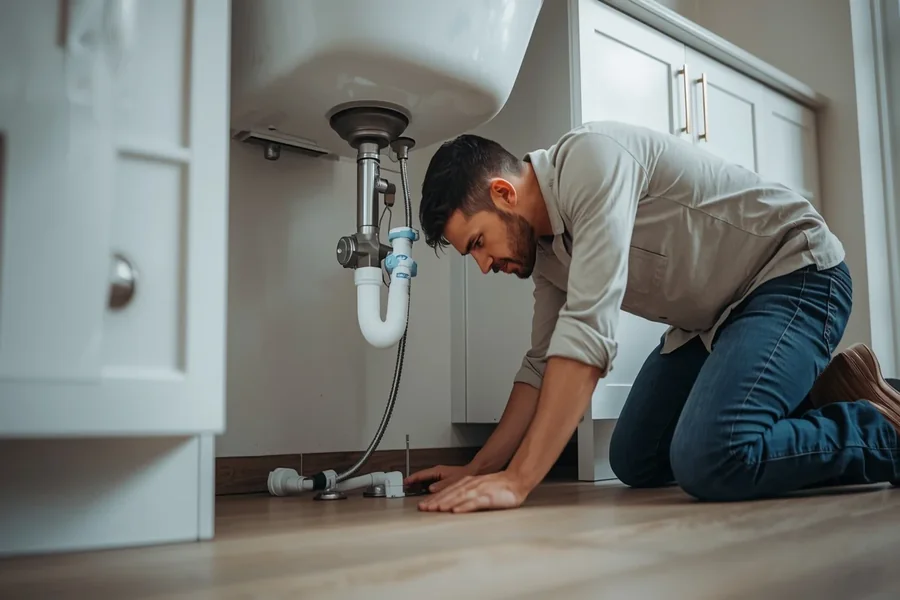
In a rainy coastal city, a “small” leak rarely stays small. Water moves under baseboards, wicks up drywall paper, and hides beneath vinyl planks and cabinets long after a surface looks dry. Hours matter because lingering moisture can lead to cupped hardwood, swollen MDF trim, or microbial growth. This article focuses on the concrete steps homeowners can take to spot hidden moisture, verify what is actually wet, build an effective drying setup, and decide when materials should be removed instead of salvaged. The goal is simple: cut off secondary damage by making timely, evidence-based decisions rather than relying on guesswork.
1. Early Signs Moisture Is Still Present After Cleanup
Trust your senses, but confirm with tools. Persistent musty odor after initial mopping points to trapped moisture in the carpet pad, underlayment, or wall cavities. Watch for drywall paper bubbling, paint blistering, or yellow-brown staining around baseboards. Telltale cues include cool-to-the-touch base plates, rust forming on carpet tack strips, and hardwood boards beginning to cup. If the situation is beyond DIY scope, Vancouver homeowners can consult professionals who provide water damage restoration services in Vancouver to evaluate and stabilize conditions before materials fail.
A common mistake is assuming a dry touch equals a dry assembly. Towels and box fans can leave moisture behind wall finishes, under toe-kicks, or inside insulation where air cannot reach. Opening windows during a damp spell can slow drying because outdoor air may raise indoor relative humidity, driving moisture back into hygroscopic materials like drywall and OSB subflooring. Left unchecked, that elevated humidity can delaminate plywood, corrode fasteners, and invite surface growth on paper-faced products.
2. Likely Sources in a Rainy Pacific Northwest Home
Wind-driven rain finds weak points. Flashing gaps at a chimney, missing kickout flashing where a roof meets a wall, or clogged downspouts can push water behind lap siding and into sheathing. Indoors, slow drips at a dishwasher valve can saturate the toe-kick cavity and migrate under sheet vinyl. Burst washing machine supply lines can soak the carpet pad and wick into drywall. A failed toilet wax ring wets the subfloor around the flange, and a tired sump pump can allow water to rise against bottom plates and fiberglass batts.
Consider two realistic scenarios. First, a dishwasher’s slow leak darkens the cabinet base and seems minor, but moisture actually travels beneath the OSB subfloor, reappearing as cool spots near the adjacent pantry wall. Second, a summer thunderstorm overflows a basement window well, leaving the sill and bottom 6 inches of drywall damp. In both cases, visible water recedes quickly while hidden cavities remain wet long enough to damage finishes.
3. How to Verify Wet Areas Without Guessing
Start with a pinless moisture meter to scan large areas, then confirm with a pin meter that reads deeper into studs, sill plates, and subfloors. A thermal imaging camera helps map suspect zones by highlighting evaporative cooling and insulation voids, especially under cabinets and behind baseboards. Use a thermo-hygrometer to track indoor temperature and relative humidity. When readings are inconclusive, gently remove a baseboard and drill small inspection holes to check the cavity or insert a borescope. Always kill power before testing near outlets or wet conductors.
Set a clear reference. Take baseline moisture readings from an unaffected area on the same material, then map and record affected readings daily. Stopping after one day or when surfaces feel dry is a frequent failure point. Ambient humidity controls a material’s equilibrium moisture content, so high indoor RH can keep drywall, softwood, and OSB above safe targets. On damp days, ventilating with outside air can push the indoor dew point up and trigger condensation on cooler surfaces, undoing progress.
4. Drying Strategy: Airflow, Heat, and Dehumidification Working Together
Effective drying couples air movers with dehumidification and, when helpful, gentle heat. Position air movers to create crossflow along wet baseboards and across flooring. Run a low-grain refrigerant or desiccant dehumidifier to remove moisture from the air so surfaces can release moisture. Use plastic containment to shrink the drying chamber and speed the cycle, and apply negative air with HEPA filtration if contamination is suspected. Lift carpet edges to “float” air across the saturated pad, and remove toe-kicks to move air into cabinet bases. The trade-off is more energy use and noise in exchange for faster, verifiable drying.
Picture a hallway supply-line break. Set air movers every few feet, aiming along the wall line, then maintain low indoor humidity with a properly sized dehumidifier. Check beneath the click-lock vinyl for trapped vapor at the seams, and consider tenting to direct warm, dry air onto the cupped hardwood without overheating the finish. Daily meter readings should trend down toward your unaffected reference. If numbers stall, add containment, increase dehumidification capacity, or open hidden cavities to relieve vapor pressure.
5. Remove or Save: Making Material-Specific Calls
Material chemistry drives decisions. Paper-faced drywall that has wicked water and shows swelling or paper separation is a strong candidate for cut-out. Swollen MDF baseboards rarely return to flat and cleanly paintable condition. Solid wood trim can often be dried and refinished. Laminate flooring typically swells and traps moisture, while many engineered hardwoods can tolerate controlled drying if the cupping is mild. Fiberglass batts lose performance when saturated and are easy to replace; closed-cell spray foam resists absorption but can trap moisture behind it. Vapor barriers and vinyl wallcoverings may need to be removed to release moisture trapped in the gypsum board.
Source water matters. Clean pressurized line leaks are very different from dishwasher overflows or sewage backups. In gray or black water events, porous items like carpet pad, insulation, particleboard shelving, and some cabinet components are typically discarded for health reasons, while non-porous surfaces can be cleaned and disinfected following product directions. Demolition adds cost and disruption, but attempting to dry contaminated porous materials trades short-term savings for potential long-term health and odor problems. When in doubt, consult local guidance and qualified professionals for risk-informed choices.
Quick action makes the difference between routine repairs and major reconstruction. Confirm wet areas with meters, not fingertips. Pair directed airflow with strong dehumidification and, where needed, small-scale containment to speed evaporation. Document readings and photos for insurance purposes, replace materials that do not dry reliably or are unsafe to keep, and schedule a follow-up moisture check before repainting or reinstalling trim. Over the next few weeks, stay alert for musty odors or new staining that suggests a missed cavity. With careful diagnostics and steady adjustments, even a rainy spell does not have to become a long-term water problem.







2 thoughts on “Finding Hidden Water After Small Leaks: Practical Diagnostics and Drying Decisions for Vancouver Homes”
Comments are closed.